How to set up a device with a Windows PC/Tablet
Table of contents
- 1. seneye connect version 2 instructions (beta)
- 2. Please read all of the following instructions before attempting to install or update your seneye device.
- 3. 1. Download the installer from the link below
- 4. 2. Run the seneye connect installer
- 5. 3. Log into the seneye connect software
- 6. 4. updating the firmware in your seneye device
seneye connect version 2 instructions (beta)
If you are not in the beta program then do not follow these instructions. Please looks at the information on this link
Please read all of the following instructions before attempting to install or update your seneye device.
IMPORTANT!! Disconnect your seneye from the computer before completeing ANY of the instructions below!!
2. Run the seneye connect installer
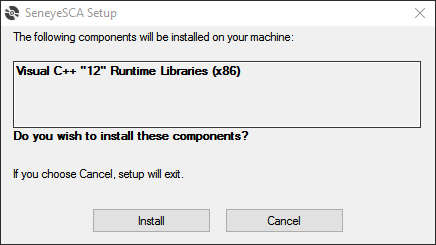
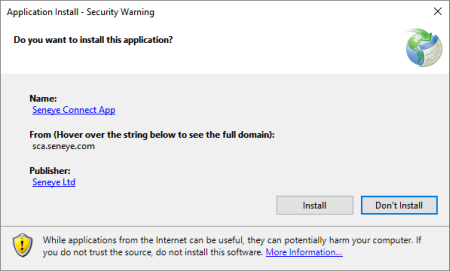
You may be asked several questions throughout the instalation process. Please click 'Yes', 'Repair', 'Agree' or 'Install' to proceed with the instalation (a couple of examples of what you may see is shown below).
Your seneye connect software will automatically launch when the installation is complete
3. Log into the seneye connect software
You will be prompted to log into the seneye.me account when the software runs. This is the same E-mail address and password that you used when you first registered with seneye.me. If you do not know your password please E-mail [email protected] and we will re-set it for you.
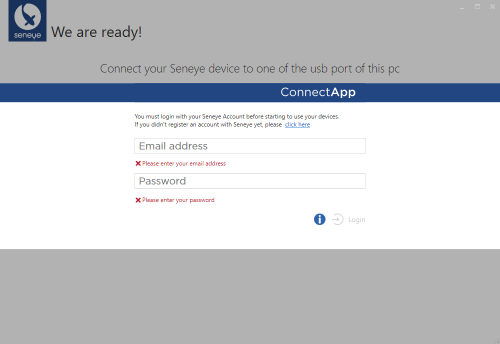
Once logged in, you will see the welcome screen as shown below: Do not do anything without following the instructions.

4. updating the firmware in your seneye device
This is a VERY important stage of the process and can damage your seneye device beyond repair if not done correctly