Seneye USB device instructions for PC use
Table of contents
- 1. seneye connect version 2 instructions
- 2. Please read all of the instructions before attempting to install or update your seneye device.
- 3. 1. If you have not done so, please download the installer from the link below.
- 4. 2. Run the seneye connect installer
- 5. 3. Log into the seneye connect software
- 6. 4. Update the firmware in your seneye device
- 7. 5. Using the seneye connect application
seneye connect version 2 instructions
These instructions detail how to setup your seneye device with the V2 SCA.
Please read all of the instructions before attempting to install or update your seneye device.
If you are using the seneye device with a belkin home base do not proceed with the upgrade as the home base is not compatible.
If you have a seneye web server (sws) then please click here, as you are currently in the wrong place.
Disconnect your seneye device (SUD) from the computer before completing ANY of the instructions below!
1. If you have not done so, please download the installer from the link below.

2. Run the seneye connect installer
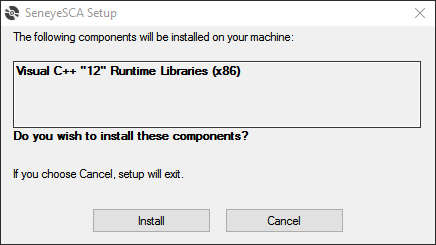
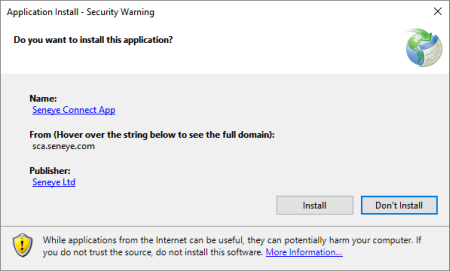
You may be asked several questions throughout the instalation process. Please click 'Yes', 'Repair', 'Agree' or 'Install' to proceed with the instalation (a couple of examples of what you may see is shown below).
Your seneye connect software will automatically launch when the installation is complete
3. Log into the seneye connect software
You will be prompted to log into the seneye.me account when the software runs. This is the same E-mail address and password that you used when you first registered with seneye.me. If you do not know your password please E-mail [email protected] and we will re-set it for you.
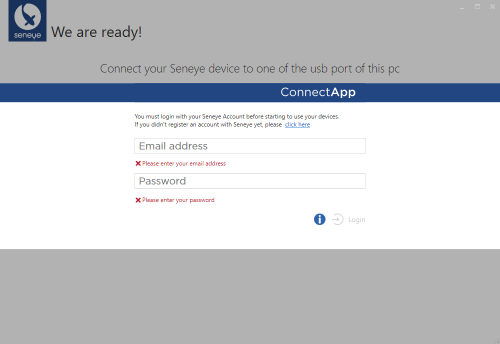
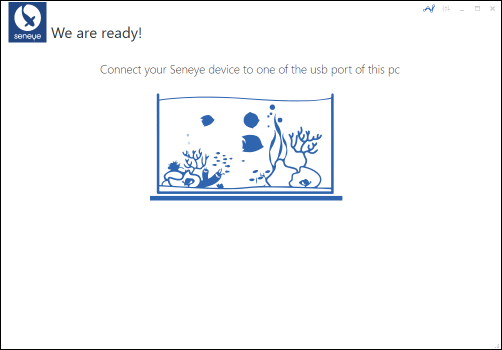
Once logged in you will see the welcome screen as shown below: Please Do Not do anything without reading the instructions that follow.
4. Update the firmware in your seneye device
This is a VERY important stage of the process and can damage your seneye device beyond repair if not done correctly. If you get stuck at any stage of the process please E-mail [email protected] and we will advise you what to do.
Please connect your seneye device directly into one of the USB ports to the computer
The seneye connect will talk you through each stage of updating your device on screen. The seneye device requires disconnecting and re-connecting from your computer to update the firmware. At each stage you will be prompted to do so by the seneye connect.
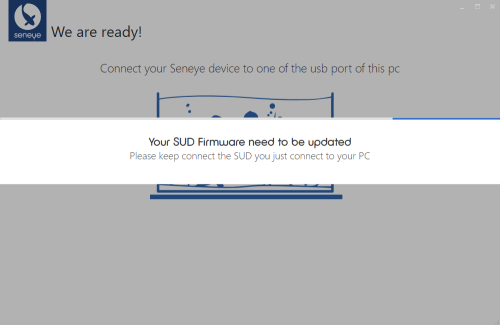
DO NOT disconnect or re-connect the device if you are not prompted to do so.
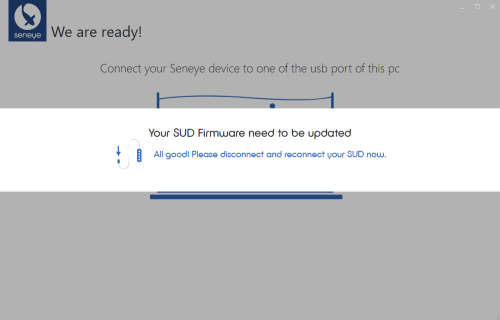
When the firmware is updated, all four lights on the seneye connect will start to flash. Your firmware update is then complete.
If you see the message "This SUD is not working as expected" please do not panic. This is usually caused by one of the following.
- The internal calibration settings in the device syncing with the servers
- Your account settings and alert lines syncing with the device
- The time being set correctly inside the device
If this does not clear after half an hour we will need to look into the cause and can advise.
5. Using the seneye connect application
The image below shows the overall layout and display of the seneye connect software running.
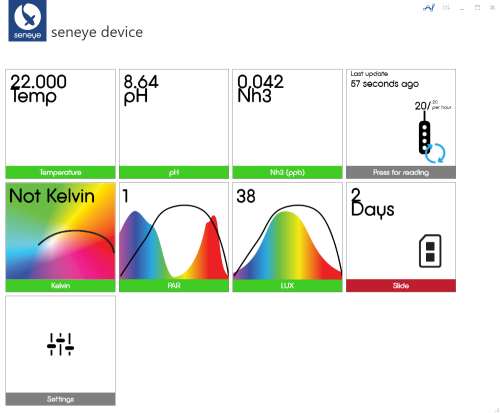
The tiles can be rotated by clicking on them to provide more information about a given parameter.
Clicking the settings tile will allow you to adjust 'trim' and other device settings.
You can link straight into your seneye.me account from the 'graph' button in the top left corner.